How to Sew a Zipper into Your Crochet Bag (the easy way!)
Sewing a zipper into your crochet bag is not as hard as you may think! This tutorial will show you how to add a zipper with a hand sewing needle, no sewing machine required.
Sewing a zipper into your crochet bag is not as hard as you may think! This tutorial will show you how to add a zipper with a hand sewing needle, no sewing machine required.
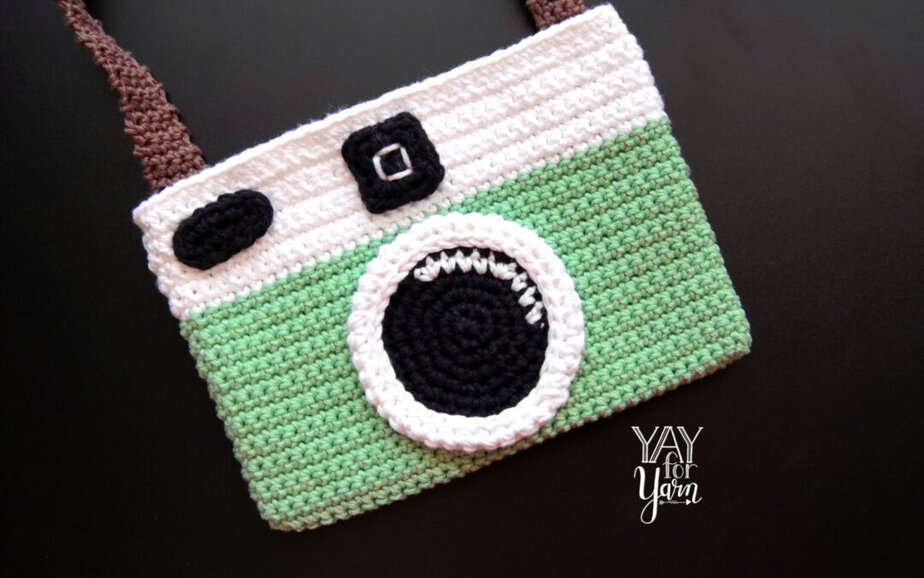
This retro crochet purse looks just like a vintage camera! It's the perfect size for carrying the essentials, and can also be made as a zipper pouch or cosmetic bag. Make one today with my Free Crochet Pattern and Video Tutorial!
(more…)
This trick eliminates the hole in the center of your work when you crochet in the round from the center out. Perfect for hats, afghan squares, amigurumi, and more!

Just because it's summertime doesn't mean you can't knit & crochet your own clothes! This guide will help you choose the perfect yarn for making breezy, comfy summer garments.
(more…)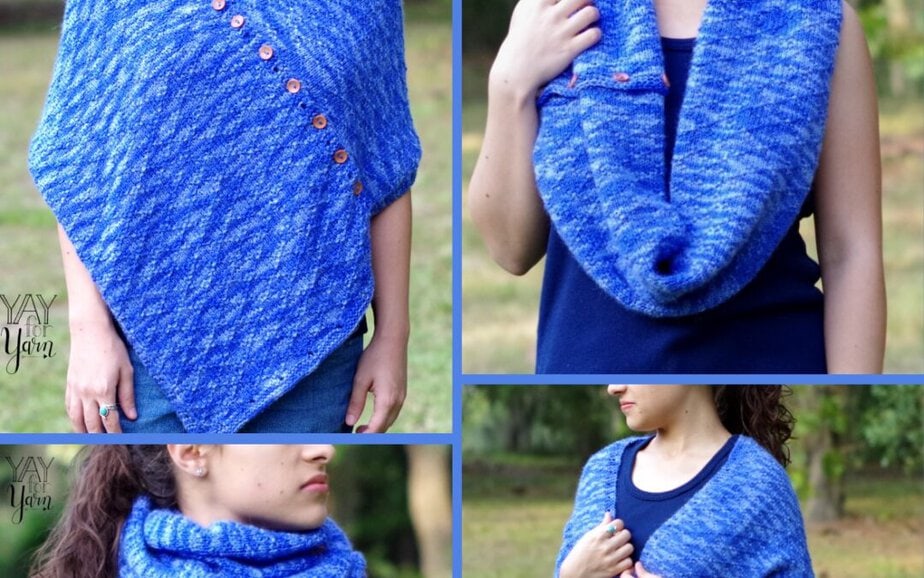
This versatile accessory can be worn many different ways. You can wear it as a shawl, scarf, cowl, or even a poncho!
(more…)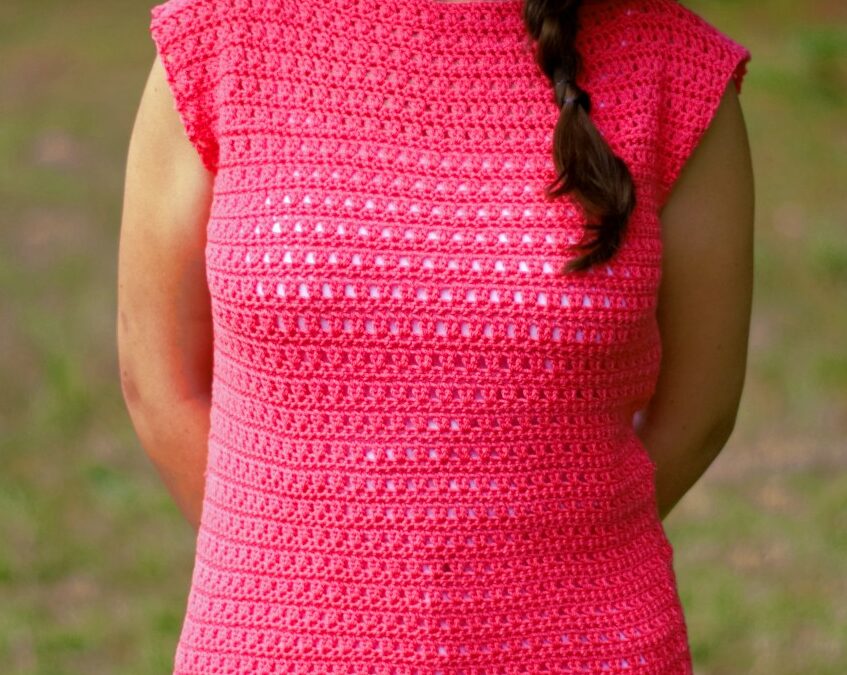
Even beginners can crochet this quick and easy summer top, made from just two rectangles!
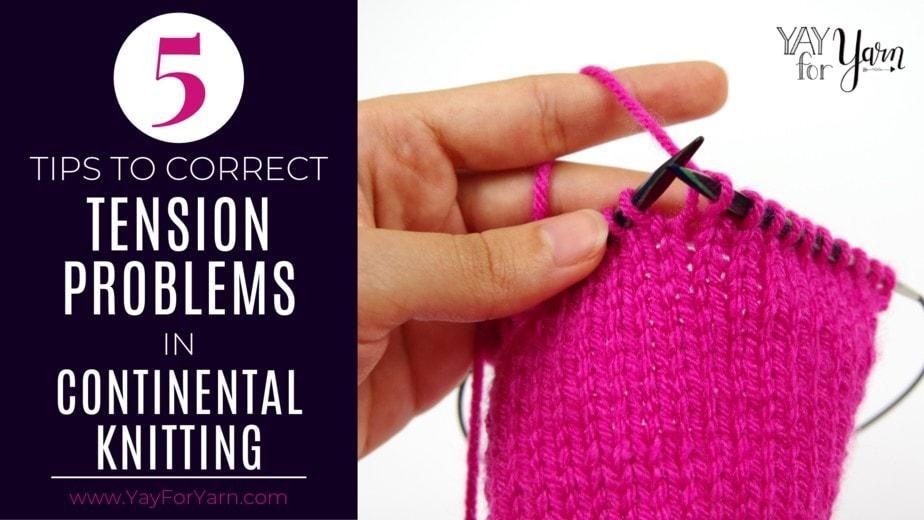
Have you ever had problems with tension in Continental Knitting? Try these 5 tips to fix your tension now! (more…)
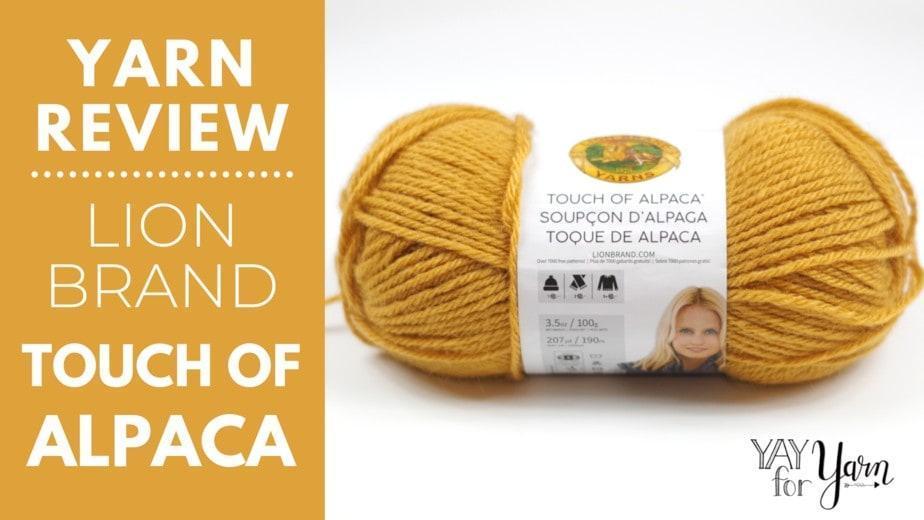
I tried Lion Brand's Touch of Alpaca yarn for the first time, and it's one of my new favorites! I can't believe how just a little alpaca can make an acrylic yarn so much more luxurious.
(more…)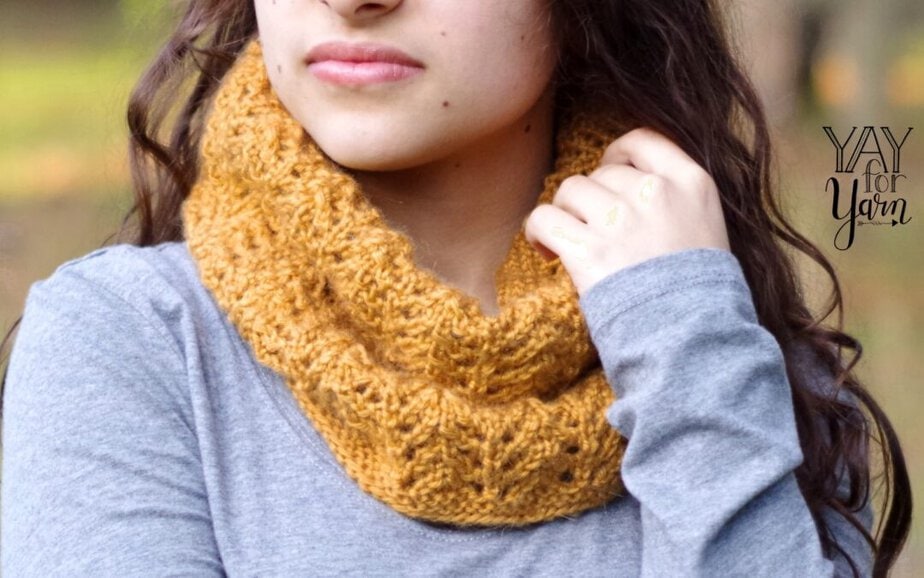
This lightweight, lacy cowl is the perfect accessory for breezy days. A simple, feminine project that knits up quickly with just one skein of yarn!
(more…)
Learn the best ways to block your knitting & crochet projects! These tips will help your projects look neater and more professional every time.
(more…)
Use this seaming technique to join crochet pieces invisibly! Perfect for joining granny squares and many other crochet motifs. (more…)

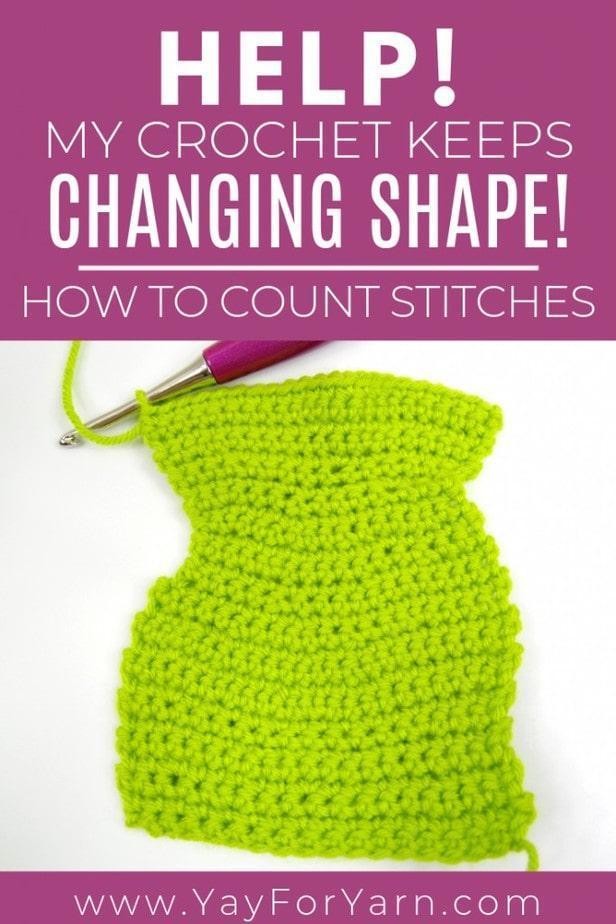
Is your crochet a wonky shape? Does it get wider or narrower as you go? Learn to properly count your stitches and fix that problem NOW!
Have you ever tried to crochet a simple rectangle, and had it come out looking like this?
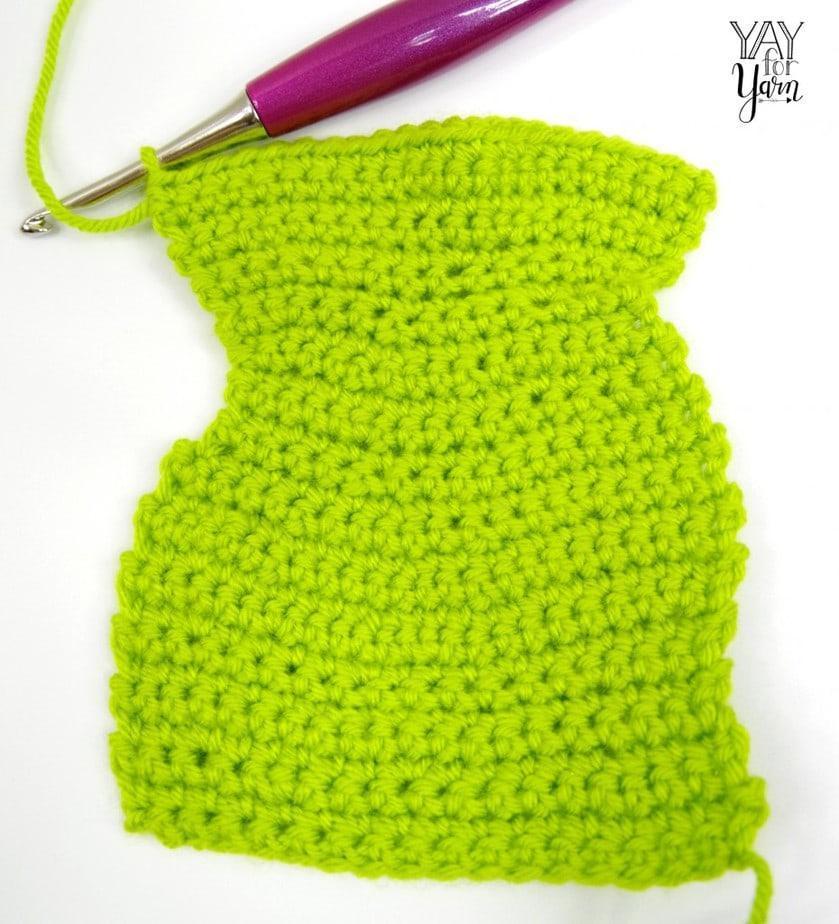
This happens to beginner crocheters all. the. time. In fact, this was one of my biggest struggles when I first learned to crochet. No matter what type of project I tried to make, I never could seem to make a straight piece. My projects were almost always wider or narrower at the top than at the bottom.
Does this sound familiar? It’s a common problem among beginners, and it’s caused by unintentionally adding or skipping stitches.
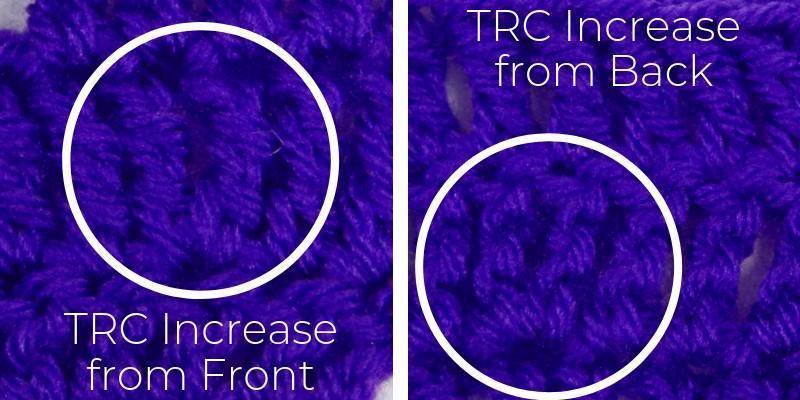
Sometimes, we add stitches to a row by working more than one stitch into a single stitch from the previous row. This is called an increase. It makes the fabric wider by adding stitches to the row. If your crochet keeps getting wider, you may be increasing stitches without realizing it. Here’s what an increase looks like in several types of crocheted fabric; single crochet, half-double crochet, double crochet, and treble crochet:
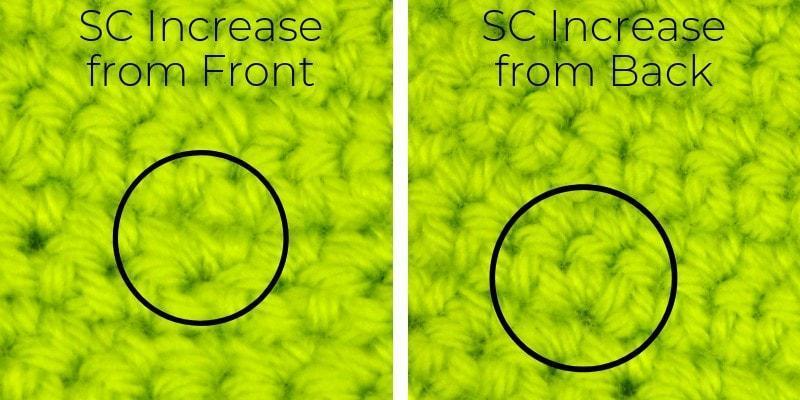
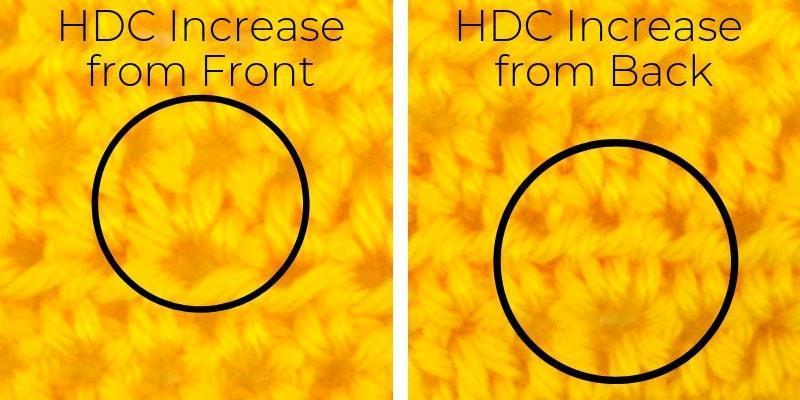
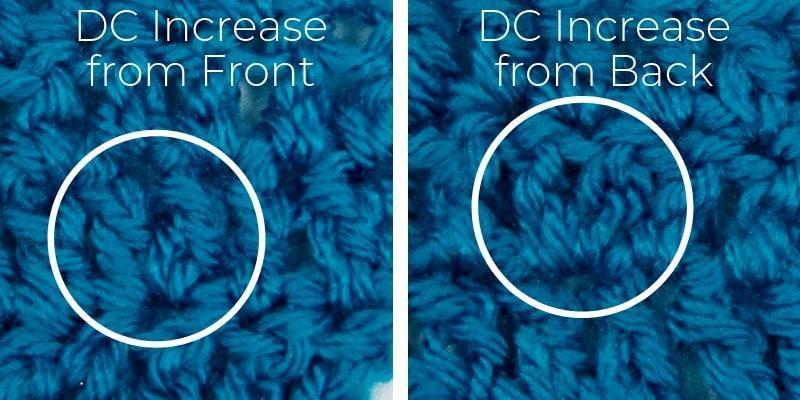
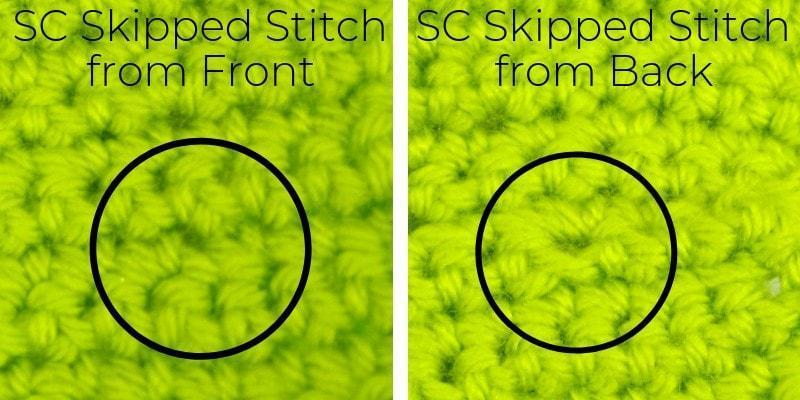
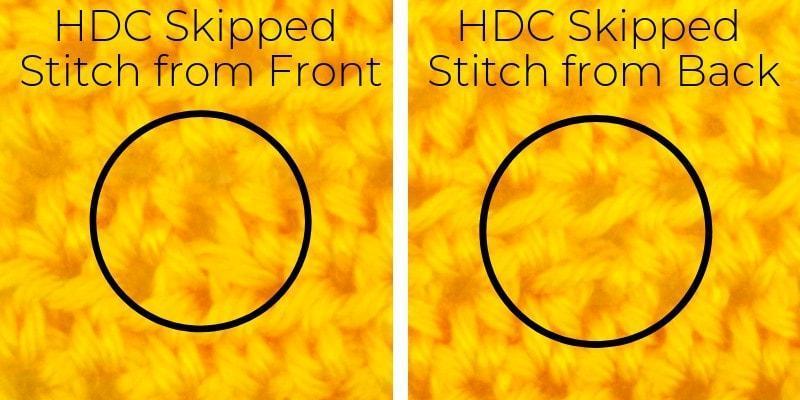
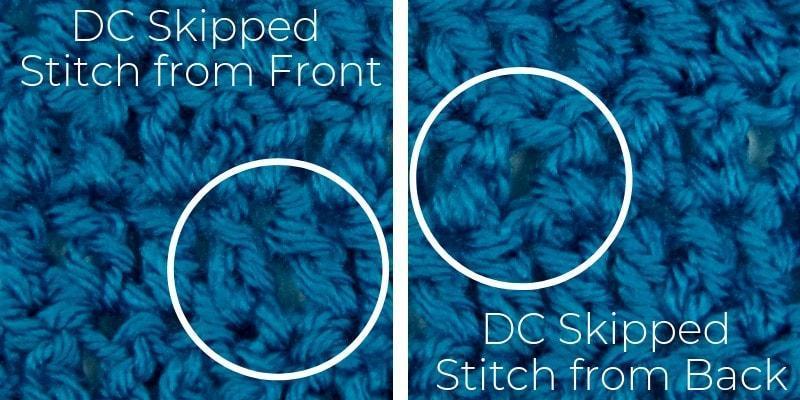
We can also subtract stitches from a row to make the fabric narrower. This is called a decrease. Normally, we make a decrease with a decrease stitch, which works two or more stitches together into one. However, it can also be done by just skipping a stitch. If your crochet keeps getting narrower, you may be skipping stitches without realizing it. Here’s what a decrease looks like in several types of crocheted fabric; single crochet, half-double crochet, double crochet, and treble crochet:
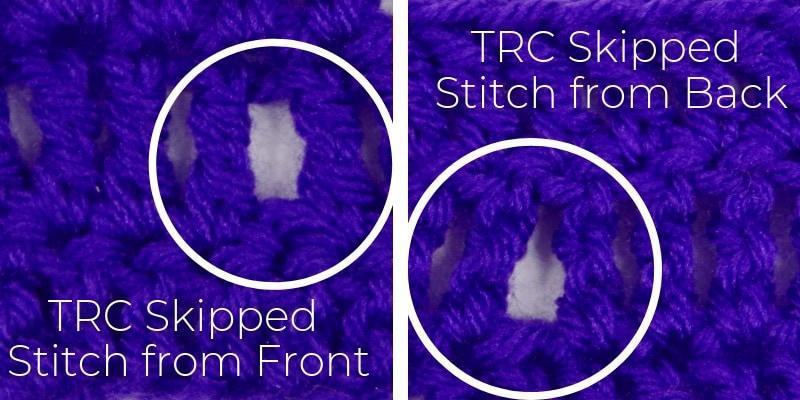
So, why is this problem so common? Well, it’s probably not taught to new crocheters enough. In my personal opinion, I think it is most common among self-taught crocheters. Don’t get me wrong, I think it’s great to teach yourself to crochet. After all, that’s how I learned most of my crochet skills. However, as essential as it is to learn to count stitches, the “teach yourself to crochet” books always seem to overlook that aspect. I have yet to see one that actually explained how to count stitches and “troubleshoot” your crochet.
Counting the stitches in the row each time you finish a row will show you if you accidentally skipped or added a stitch somewhere. Most well-written crochet patterns will give a stitch count (number of stitches you should have) for each row or round.
Some people choose to count the turning chain as a stitch, and some people do not. Neither way is “wrong”, but designers don’t always specify whether they are counting the turning chain as a stitch or not. So be sure to look for that info in your pattern. (If the pattern does not specify, I would suggest choosing another pattern that does give stitch counts before moving on to patterns that do not.)
If the pattern does not count the turning chain as a stitch, you’ll need to work the first stitch of the row into the same stitch the turning chain is coming from. On the following row, you will not work into the top of the turning chain from the previous row.
If the pattern does count the turning chain as a stitch, you’ll need to work the first stitch of the row into the next stitch (the stitch after the one the turning chain is coming from). On the following row, you will work into the top of the turning chain from the previous row.
(This also applies to working in the round if rounds begin with a turning chain.)
I prefer to eliminate the turning chain altogether by replacing it with a Chainless Starting Stitch.
If you’re struggling with keeping crochet pieces from getting distorted or changing shape, I highly recommend that you count your stitches. For best results, you should count your stitches after every row or round. It’s better to take the time to count your stitches for each row than to count every once in awhile. It isn’t fun to realize you’ve made a mistake 10 rows back and have to rip out all that work to fix it. ????